
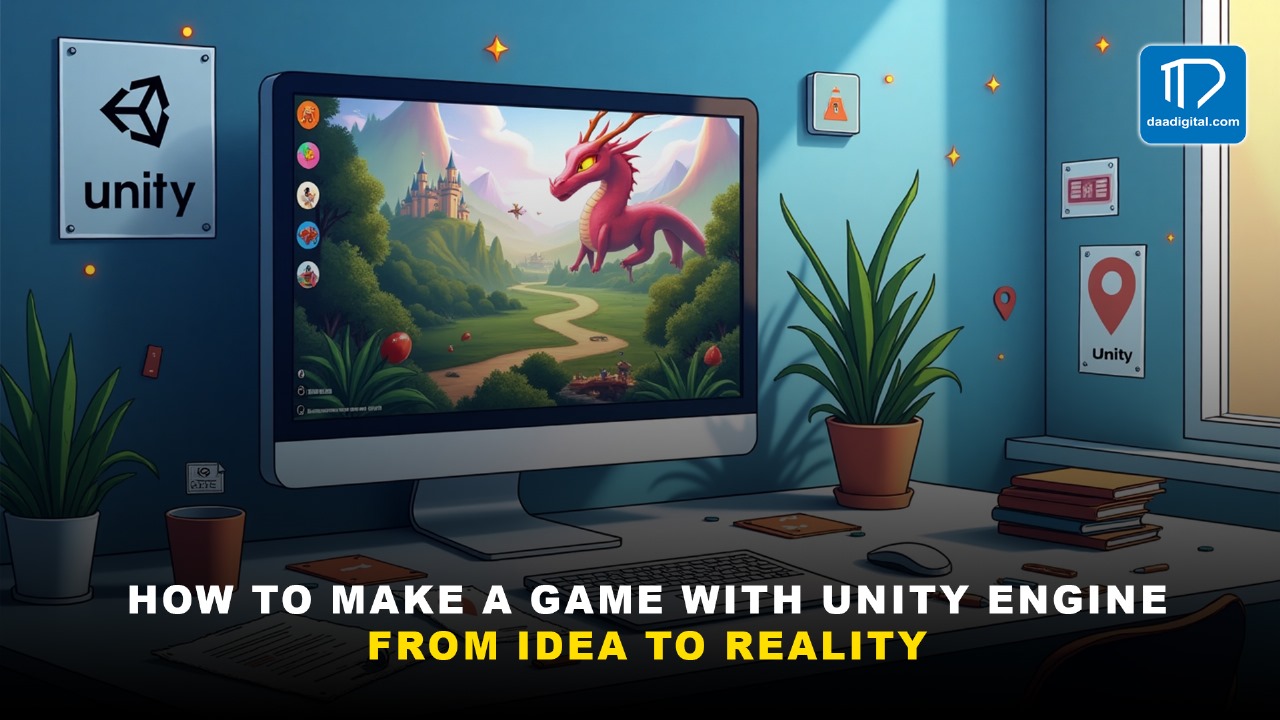
Even if creating a game from scratch may appear very time-consuming and intensely complicated, think about how fun the process is when you use the Unity game engine. Even for newcomers to development, Unity’s vast ecosystem offers tools that millions of developers can utilize to turn their creative visions into functional games.
In the following comprehensive tutorial, you will discover how to create your real-time idea using Unity.
Each terrific game must have an intriguing concept of beginning. It should be well-defined if you are working on an adrenaline-pumping shooter game, a challenging puzzle and platformer or an adventurous role-playing game. That’s the overall gameplay in question – what is the main gameplay mechanic?
Download and install Unity Hub, the project management software for Unity, before that. Choose a Unity version based on your requirements and then create a new project depending on the genre of the game you wish to develop, 2D, 3D VR, etc.
Although Unity's interface could appear intimidating at first, you will eventually become accustomed to its key panels:
To see how these technologies function, spend a while learning about them.
First of all, start with the basic building blocks of your game. In Unity, everything that you see in your scene is a GameObject, and components govern its behavior. For instance, to position objects, you can apply a Transform to provide physics-based movement, a Rigidbody.
At this point, you ought to:
Place assets into your game after the prototype is running. Many models, animations, and sound effects are available in the Unity Asset Store, both in the free and paid domain. Further, you can also create your assets with applications such as Photoshop for two-dimensional sprites or Blender for three-dimensional models.
Look through this list and try to use these resources in your scene to make your game unique.
After you've mastered the fundamentals, add more sophisticated features to your game:
Following are a few tips to ensure that your game reaches the standard level before going live: Ensure that the gamers do not have a challenge in gameplay through playing the level, and gaming mechanic. Deal with problems like:
As a result, it discloses failures and records details from your scripts; the Console pane in Unity is an effective debugger.
Your game will run great and meet all expected performance attributes on all designated target platforms due to optimization. Here are some pointers:
In Unity, there is an instrument called Profiler, which helps to find out where the program spends the most time, and you make the necessary amendments.
Some of the platforms that can be developed using Unity are automated PCs, smartphones, consoles, and virtual reality devices. Choose what unanimated platform you would like to employ, and adjust Build Settings correspondingly. For specific requirements of each platform, detailed instructions can be fetched from the Unity documentation.
Creating a snapshot or trailers of your game is also useful in circulating promotional content of your game before it gets to the market. Check the submission requirements if you are planning to release through the app store or even a platform like Steam.
The creation of a game using Unity is learning, creativity and problem-solving. These methods will enable the operationalization of your initial creative idea into a fun and entertaining game for the players. Hence, this Unity feature set and flexibility extend the ability of developers of all levels of experience to transform their concepts.
Well, what are you waiting for then? Open the Unity application, start roaming and start the process of transforming your idea into a game!