Introduction
Developing Android games has become one of the most exciting and rewarding paths for creative individuals and developers alike. The Android gaming market, being one of the largest in the mobile ecosystem, offers immense opportunities for aspiring game creators.
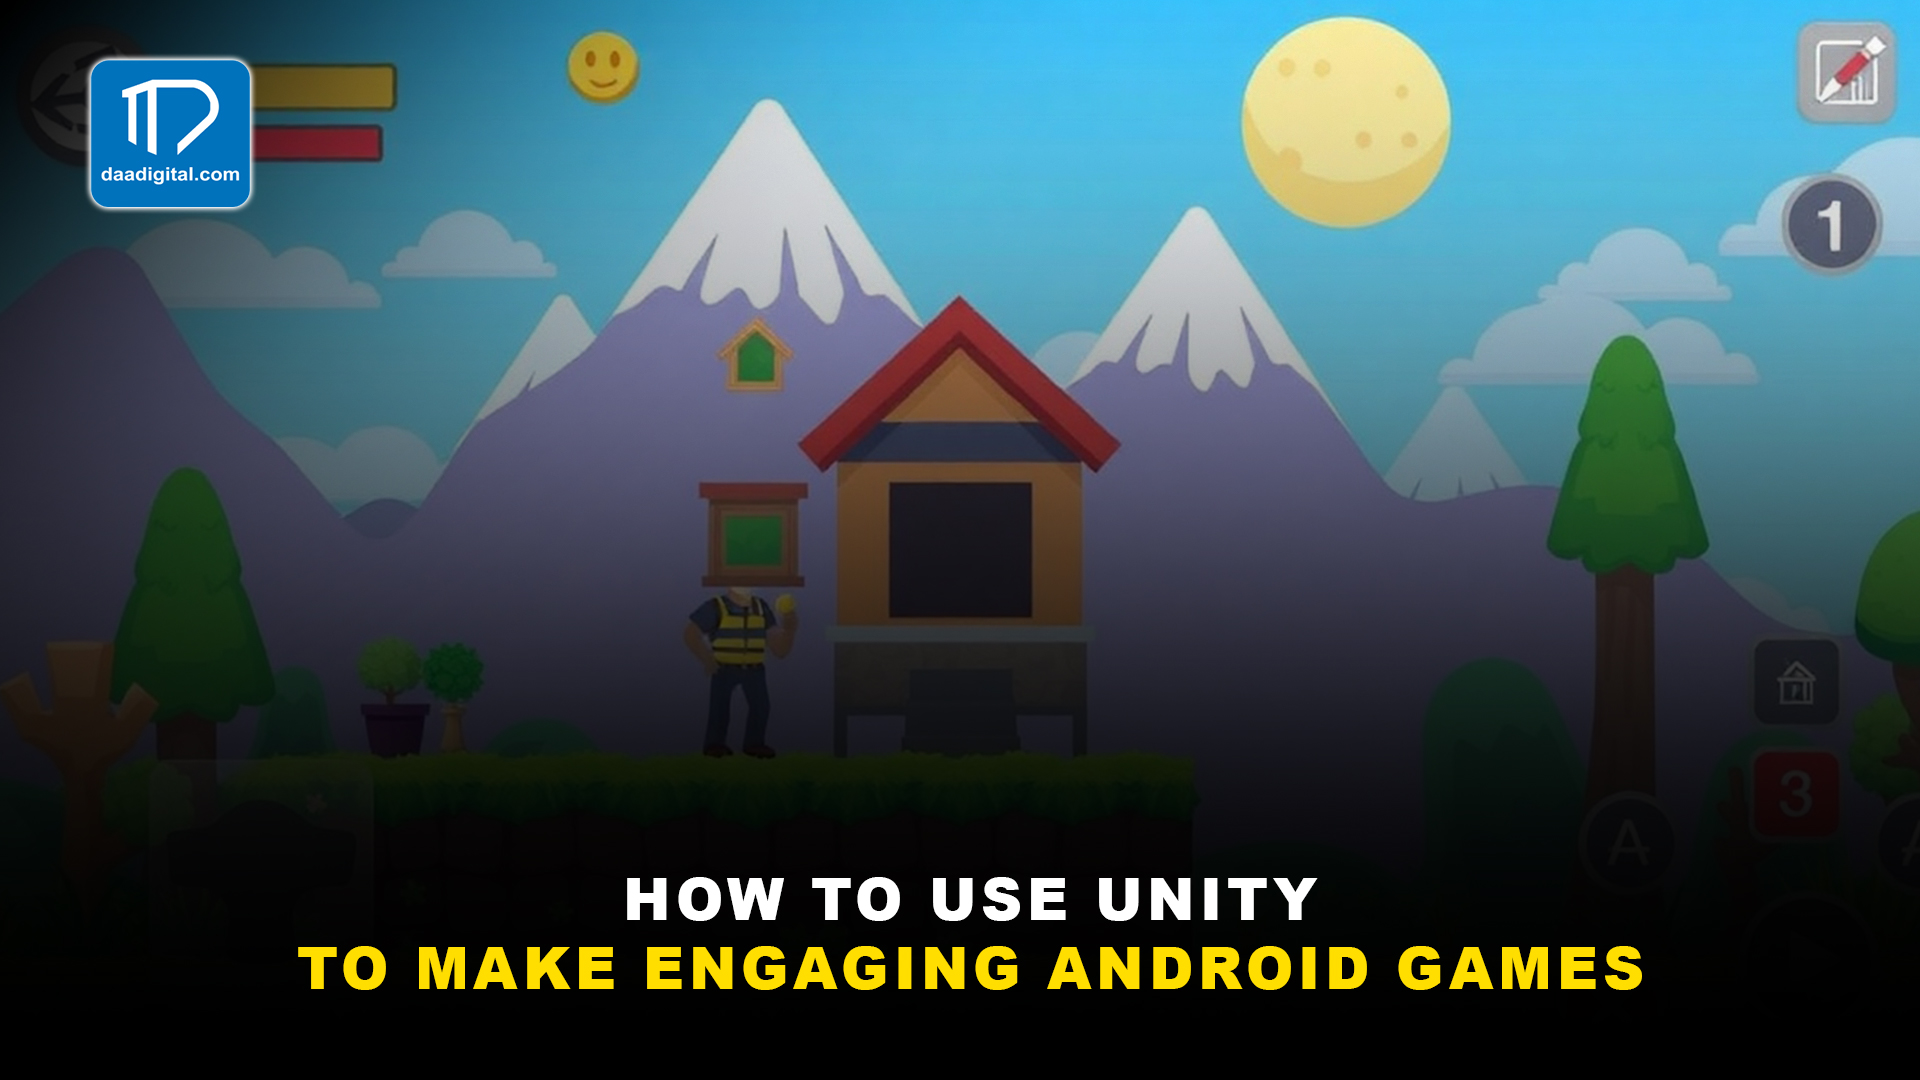
Whether you’re a beginner looking to bring your first game idea to life or a seasoned developer aiming to refine your craft, Unity equips you with the tools necessary to create captivating experiences. From simple puzzle games to complex 3D adventures, Unity enables you to design games tailored to your creative vision.
In this guide, we’ll explore the step-by-step process of using Unity to create Android games that not only perform well but also engage players in meaningful ways. By the end, you’ll have a clear understanding of how to turn your game ideas into a reality and what it takes to launch them successfully on the Android platform.
Decoding Unity to Make Engaging Android Games
Developing Android games with Unity is an exciting endeavor that blends technical prowess with creative artistry. Unity, a leading game development platform, provides the tools and flexibility required to create captivating games that leave a lasting impression. Let’s explore detailed steps to help you utilize Unity to develop engaging Android games while ensuring an immersive user experience.
1. Understand Unity and Its Features
Unity is a powerful game engine known for its versatility and ease of use. It's a favorite among developers for creating games across various genres and platforms. Whether you're a beginner or an experienced developer, Unity's features can help streamline your game development process.
- Cross-Platform Support: One of Unity's standout features is its ability to build games for multiple platforms, including Android, iOS, PC, and consoles, from a single project. This saves time and effort, particularly if you plan to expand beyond Android.
- Asset Store: Unity's Asset Store is a treasure trove of resources. From 3D models, animations, and sound effects to ready-made scripts, the Asset Store provides everything you need to kickstart your project. Developers can focus on creating unique gameplay mechanics instead of spending hours on asset creation.
- Visual Editor: Unity's visual editor simplifies the process of designing game levels. Its drag-and-drop functionality, combined with a real-time preview, allows developers to iterate quickly and experiment with different layouts.
- Scriptable Objects: Scriptable Objects in Unity enable developers to create modular and reusable game logic. They are particularly useful for managing game data like inventory items, enemy stats, or level configurations.
2. Setting Up Your Development Environment
Getting started with Unity requires setting up a robust development environment tailored for Android game development. Follow these steps to ensure everything is configured correctly:
- Install Unity Hub: Unity Hub acts as a central management tool for Unity installations and projects. Download it from Unity's official website and install the latest stable version compatible with Android development.
- Select Unity Editor Version: Unity frequently updates its engine to include new features and bug fixes. Select a version optimized for Android support, as these often include necessary SDKs and build tools.
- Android SDK, NDK, and JDK: Unity requires the Android Software Development Kit (SDK), Native Development Kit (NDK), and Java Development Kit (JDK). These components allow Unity to communicate with Android devices during the build and testing phases.
- Integrated Development Environment (IDE): Use an IDE like Visual Studio to write and debug your C# scripts. Visual Studio's integration with Unity provides helpful features like IntelliSense and debugging tools.
3. Start a New Project
Once your environment is set up, you’re ready to create your first project in Unity. Starting a new project correctly is crucial for a smooth development process. Here’s how:
- Create a New Project: Launch Unity Hub and click on "New Project." Choose either a 2D or 3D template based on the game you plan to develop.
- Configure Build Settings: Open the Build Settings from the File menu and select "Android" as your target platform. Click "Switch Platform" to ensure Unity optimizes your project for Android development.
- Project Organization: Keep your project well-organized by creating folders for assets, scripts, scenes, and other resources. A clean project structure saves time and prevents errors later.
4. Design Your Game Scene
The Scene view in Unity is your playground, where you’ll create the visual layout of your game. Designing an engaging game scene involves multiple steps:
- Add Game Objects: Unity’s Hierarchy panel is where you manage game objects like characters, obstacles, and collectibles. Drag and drop objects into the Scene view to arrange them.
- Apply Materials and Textures: Use the Inspector panel to assign materials and textures to game objects. High-quality visuals are essential for keeping players immersed in your game world.
- Lighting Setup: Proper lighting enhances the atmosphere of your game. Unity provides several lighting options, including directional lights, point lights, and ambient lighting, to help you set the desired mood.
- Camera Positioning: The camera is your player’s window into the game. Experiment with different angles and perspectives to create a visually dynamic experience.
5. Develop Game Mechanics with C# Scripting
Game mechanics form the backbone of any engaging game. Unity uses C#, a versatile and beginner-friendly programming language, to script behaviors and interactions.
- Player Controls: Write scripts to handle player inputs. For example, you can program touch controls for jumping or tilting the device to move a character.
- Collision Detection: Use Unity's built-in physics engine to detect collisions between objects. For instance, you can trigger events like losing health when a player collides with an enemy.
- Score Systems: Implement a scoring system that updates dynamically based on player actions. Visualize scores using Unity’s UI tools.
- State Machines: Use Unity’s Animator and state machines to control complex behaviors, like switching between different enemy attack patterns.
6. Add Engaging Visuals and Audio
Visuals and audio significantly impact a game's ability to capture and retain a player's attention. Unity makes it easy to incorporate both.
- Import Custom Assets: If you prefer unique graphics, design assets using external tools like Blender or Photoshop. Import them into Unity using the Assets panel.
- Apply Animations: Unity’s Animator tool allows you to create lifelike animations for characters and objects. Smooth animations enhance the realism of your game world.
- Incorporate Sound Effects: Add immersive sound effects and background music using Unity’s Audio Source component. Sync sounds with gameplay events for added impact.
- Special Effects: Experiment with particle systems to create effects like explosions, fire, or magic spells.
7. Optimize for Android
Optimization ensures your game performs well across a range of Android devices. Unity provides several tools and settings to achieve this:
- Texture Compression: Compress textures to reduce file size without compromising visual quality.
- Object Pooling: Use object pooling techniques to manage resource-intensive objects, like bullets or enemies, without affecting performance.
- Resolution Settings: Configure your game’s resolution and aspect ratio to accommodate various Android screen sizes.
- Profiler Tool: Use Unity’s Profiler to monitor performance metrics like frame rate, memory usage, and CPU load. Address any identified bottlenecks.
8. Test and Debug Your Game
Testing and debugging are critical to ensuring a smooth user experience. Here’s how to test effectively:
- Unity Remote App: Test your game in real-time on Android devices using the Unity Remote app. This lets you assess gameplay on different screen sizes and hardware.
- Debugging Tools: Use Unity’s debugging features to identify and fix issues in your code. Set breakpoints in Visual Studio to track variable values during gameplay.
- Feedback Loop: Share your game with testers or friends and gather their feedback. Make improvements based on their input to refine the player experience.
9. Build and Publish
After extensive testing and polishing, it’s time to bring your game to the world. Follow these steps to publish your Android game:
- Generate an APK: Open Build Settings in Unity, select Android, and click "Build." This will generate an APK file, which is the format required for Android apps.
- Create a Play Store Listing: Sign up for a Google Play Developer account. Prepare a compelling game description, high-quality screenshots, and an eye-catching app icon.
- Upload Your Game: Submit your APK and complete the necessary details, including content ratings and privacy policies. Once approved, your game will be live on the Play Store.
10. Keep Improving
Even after publishing, your game development journey isn’t over. Use analytics to understand player behavior and update your game based on feedback.
- Unity Analytics: Track metrics like player retention, session duration, and in-app purchases.
- Regular Updates: Add new features, fix bugs, and optimize performance to keep players engaged.
- Marketing: Promote your game through social media, forums, and app review websites to reach a broader audience.
Conclusion
Creating Android games with Unity is a journey that combines creativity, technical knowledge, and a passion for engaging storytelling. While the process may seem daunting at first, Unity’s user-friendly tools and extensive resources make it accessible for developers of all skill levels.
With a clear plan and a commitment to learning, you can use Unity to bring your game concepts to life and reach a global audience. Whether you're building your first Android game or your next big hit, Unity is the perfect companion for turning your dreams into reality.
